

The Saracens are a Camel and Naval civilization in Age of Empires 2. Their unique unit is the Mameluke. Below: what counters the units they bring, where their tech tree runs out, and the full civilization overview. Jump to the Saracens tech tree.
How to counter the Saracens
Their unique and regional units are the part of the matchup a generic army does not prepare you for. Hard counters beat the unit decisively and win even at a cost disadvantage — usually through bonus damage, area damage, conversion or a speed advantage it cannot escape. Soft counters win the fight too, but only with good numbers and positioning.
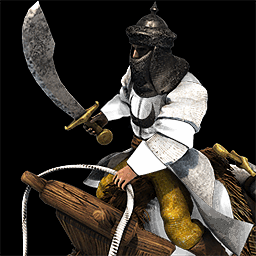 Mameluke Castle Age · Castle
Saracen unique Cavalry with ranged melee attack.
Countered by
-
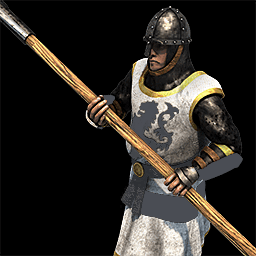 Pikeman hard Attack bonus vs. camels (Halberdier +26)
 -
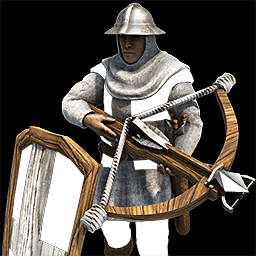 Genoese Crossbowman UU hard Bonus vs. camels; Mameluke has 0 pierce armor
 -
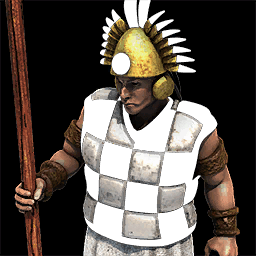 Kamayuk UU hard Attack bonus vs. camels + reach
 -
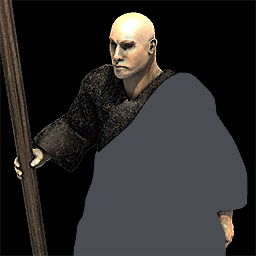 Monk soft Can convert the expensive unit
 -
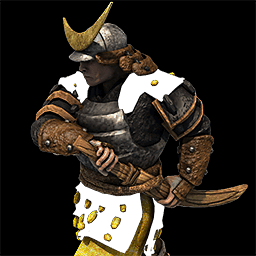 Samurai UU soft Attack bonus vs. unique units (+12)
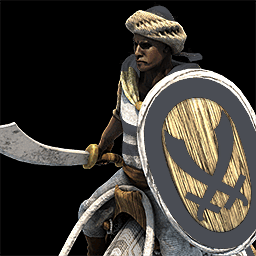 Heavy Camel Rider Imperial Age · Stable
Fast moving anti-cavalry Cavalry.
Countered by
-
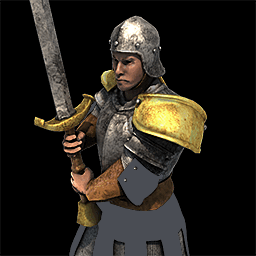 Two-Handed Swordsman hard Infantry counter – camels have no bonus vs. them
 -
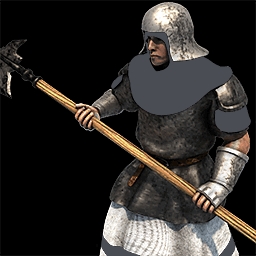 Halberdier hard Attack bonus vs. camels
 -
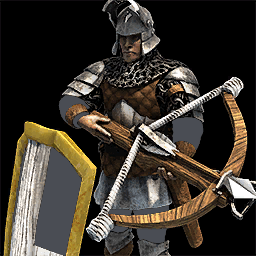 Elite Genoese Crossbowman UU hard Attack bonus vs. camels (+6)
 -
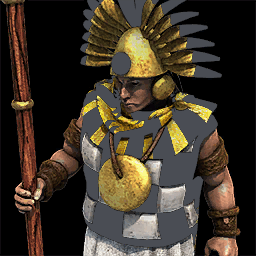 Elite Kamayuk UU hard Attack bonus vs. camels (+10)
 -
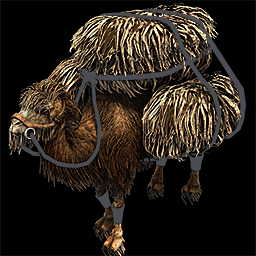 Flaming Camel UU hard Attack bonus vs. camels (+50)
 - Monk soft Conversion
-
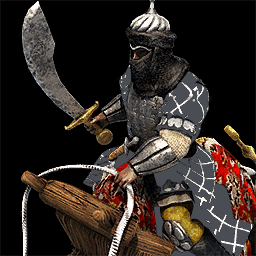 Elite Mameluke UU soft UU (Saracens) – Ranged, but no bonus vs. camels
What the Saracens are strong against
The other side of the matchup: these are the fights their own units are built to win. Walking one of these into them plays to their strengths.
- Mameluke is strong against Mounted Units.
- Heavy Camel Rider is strong against Mounted Units.
What the Saracens cannot answer
Every civilization is missing something. What matters in a match is which of those gaps you can actually attack. Below are the Saracens gaps that change how a fight plays out — the economic ones are left out on purpose.
Mounted units
-
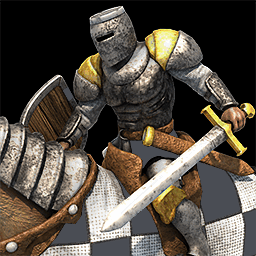 Cavalier — Their Knights never become Cavaliers — less attack and fewer hit points, so your Pikemen and Camel Riders trade up against them from the Castle Age on.
Anti-cavalry
- Halberdier — Their Spearman line stops at the Pikeman — against Paladins and other heavy cavalry they never get the Halberdier's bonus damage. The Heavy Camel Rider covers the anti-cavalry role instead: it deals bonus damage to mounted units.
Siege
-
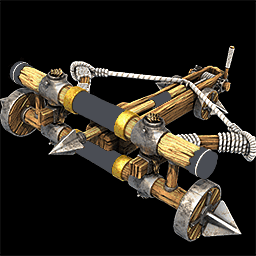 Heavy Scorpion — Their Scorpions stay at the base tier — less range, attack and accuracy, so your archers out-range them.
Defensive buildings
-
 Bombard Tower — No Bombard Tower — their towers never become gunpowder towers, so your siege can set up against a tower line instead of being shelled off it.
 -
 Heated Shot — No Heated Shot — their towers and Castles have no bonus damage against ships, so a shore landing stays safe for longer.
 -
 Architecture — No Architecture — their buildings keep base armour and hit points, so your siege takes them down faster.
Navy
-
 Fast Fire Ship — Their Fire Ship line stops before the Fast Fire Ship — slower and weaker in exactly the close-range fights fire ships are built for.
 -
 Shipwright — No Shipwright — their warships cost more and build slower in the Imperial Age, so a replaced fleet comes back later than yours.
Everything the Saracens do and do not have, unit by unit, is in the Saracens tech tree further down.
Saracens: Civilization and Team Bonuses
Civilization Bonuses
- Market trading fee only 5%; Markets cost -100 wood
- Camel Units +25% HP
- Galley-line attacks +25% faster
- Transport Ships +100% HP, +20 carry capacity
Team Bonus
Foot Archers and Skirmishers +2 attack vs. buildings
Unique Units
Unique Technologies


Saracens Tech Tree
The full Saracens tech tree in Age of Empires 2 — every unit, upgrade and technology they can research, and everything they cannot. Units are shown as their upgrade lines, followed by the technologies available at each building. Greyed-out entries are missing from the Saracens tech tree.
Barracks
-
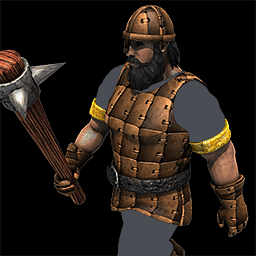 Militia D
 -
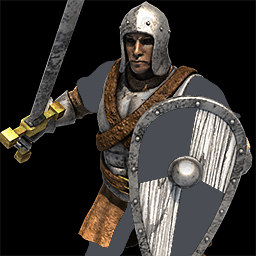 Man-at-Arms F
 -
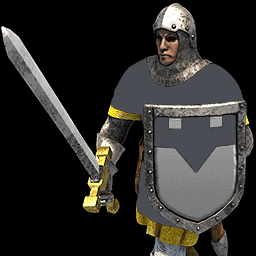 Long Swordsman C
 - Two-Handed Swordsman I
-
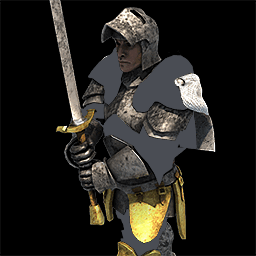 Champion I
-
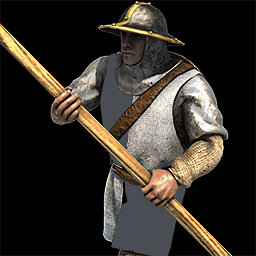 Spearman F
 - Pikeman C
- Halberdier I
-
 Arson F
-
 Gambesons C
-
 Squires C
Archery Range
-
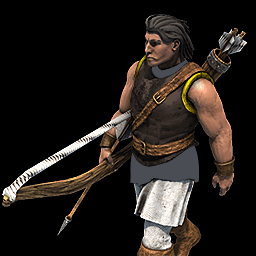 Archer F
 -
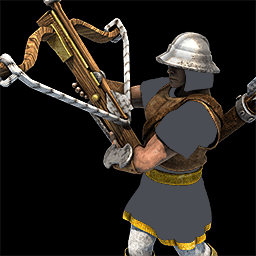 Crossbowman C
 -
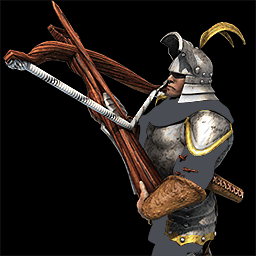 Arbalester I
-
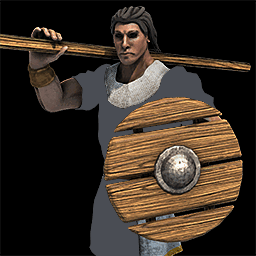 Skirmisher F
 -
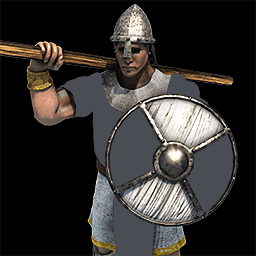 Elite Skirmisher C
-
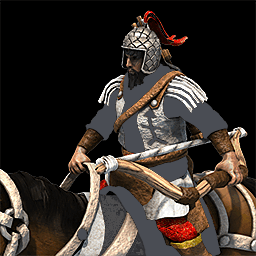 Cavalry Archer C
 -
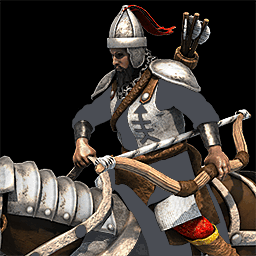 Heavy Cavalry Archer I
-
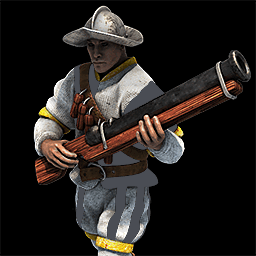 Hand Cannoneer I
-
 Thumb Ring C
-
 Parthian Tactics I
Stable
-
 Scout Cavalry F
 -
 Light Cavalry C
 -
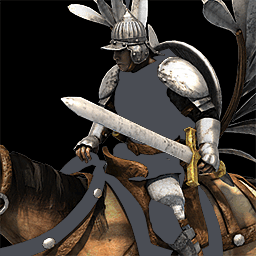 Hussar I
-
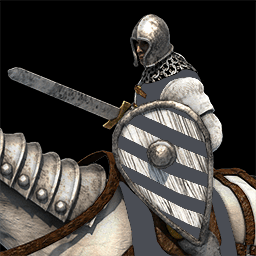 Knight C
 - Cavalier I
-
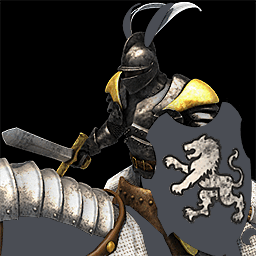 Paladin I
-
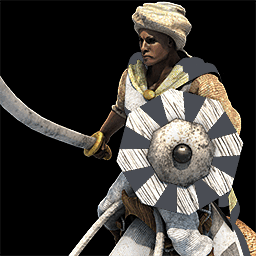 Camel Rider C
 - Heavy Camel Rider I
-
 Bloodlines F
-
 Husbandry C
Siege Workshop
-
 Battering Ram C
 -
 Capped Ram I
 -
 Siege Ram I
-
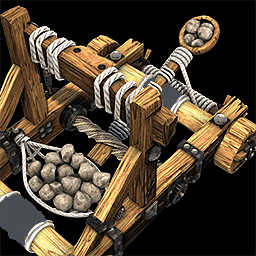 Mangonel C
 -
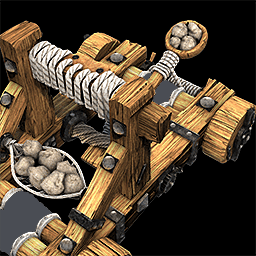 Onager I
 -
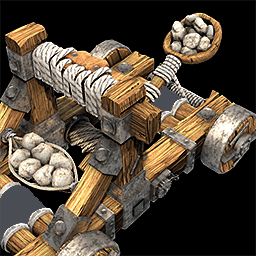 Siege Onager I
-
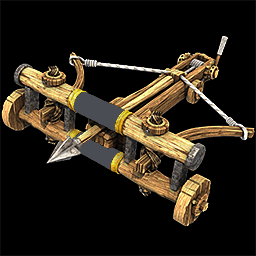 Scorpion C
 - Heavy Scorpion I
-
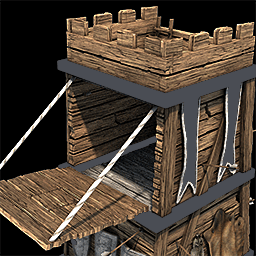 Siege Tower C
-
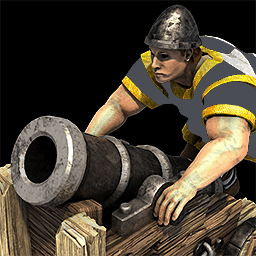 Bombard Cannon I
Castle
- Mameluke C
- Elite Mameluke I
-
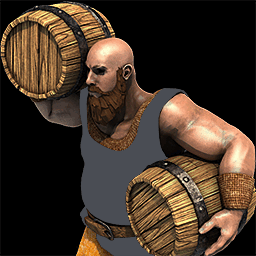 Petard C
-
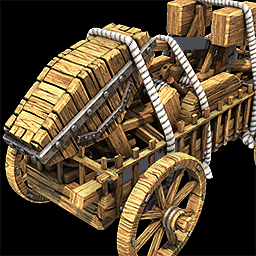 Trebuchet I
-
 Bimaristan C
- Counterweights I
-
 Hoardings I
-
 Conscription I
-
 Sappers I
-
 Spies/Treason I
Dock
-
 Fishing Ship D
-
 Transport Ship D
-
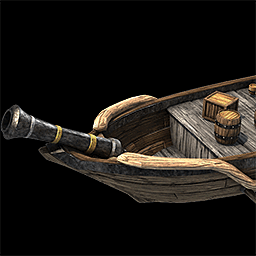 Fire Galley F
 -
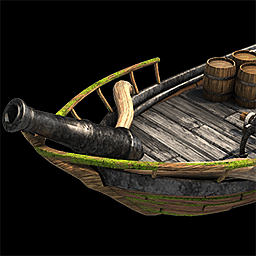 Fire Ship C
 - Fast Fire Ship I
-
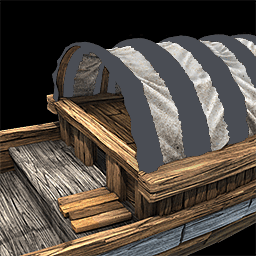 Galley F
 -
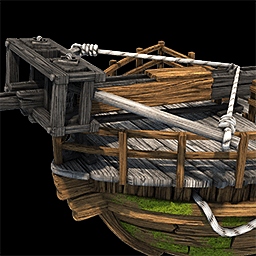 War Galley C
 -
 Galleon I
-
 Hulk F
 -
 War Hulk C
 -
 Carrack I
-
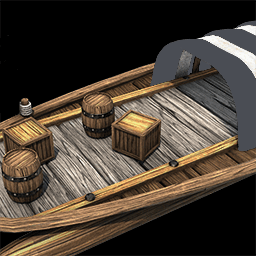 Demolition Raft F
 -
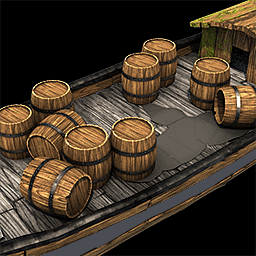 Demolition Ship C
 -
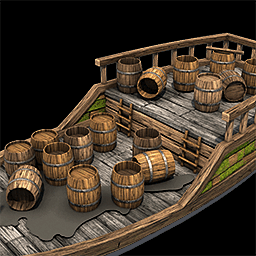 Heavy Demo Ship I
-
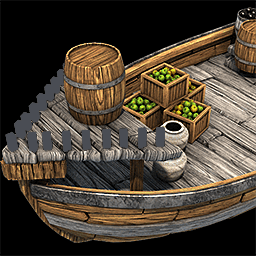 Trade Cog F
-
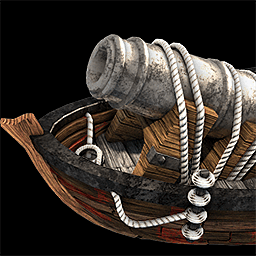 Cannon Galleon I
 -
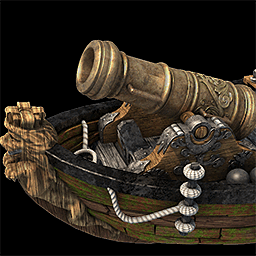 Elite Cannon Galleon I
-
 Fishing Lines F
-
 Medium Warships C
 -
 Heavy Warships I
-
 Gillnets C
Monastery
- Monk C
-
 Devotion C
 -
 Faith I
-
 Redemption C
-
 Atonement C
-
 Herbal Medicine C
-
 Heresy C
-
 Sanctity C
-
 Fervor C
-
 Illumination I
-
 Block Printing I
-
 Theocracy I
Blacksmith
-
 Padded Archer Armor F
 -
 Leather Archer Armor C
 -
 Ring Archer Armor I
-
 Fletching F
 -
 Bodkin Arrow C
 -
 Bracer I
-
 Forging F
 -
 Iron Casting C
 -
 Blast Furnace I
-
 Scale Barding Armor F
 -
 Chain Barding Armor C
 -
 Plate Barding Armor I
-
 Scale Mail Armor F
 -
 Chain Mail Armor C
 -
 Plate Mail Armor I
University
-
 Masonry C
 - Architecture I
-
 Fortified Wall C
-
 Ballistics C
-
 Guard Tower C
 -
 Keep I
- Heated Shot C
-
 Murder Holes C
-
 Careening C
 -
 Dry Dock I
-
 Clinker Construction C
 -
 Carvel Hull I
-
 Siphons C
 -
 Incendiaries I
-
 Treadmill Crane C
-
 Chemistry I
 - Bombard Tower I
-
 Siege Engineers I
-
 Arrowslits I
- Shipwright I
Market
-
 Trade Cart F
-
 Caravan C
-
 Coinage C
 -
 Banking I
-
 Guilds I
Mill
-
 Horse Collar F
 -
 Heavy Plow C
 -
 Crop Rotation I
Lumber Camp
-
 Double-Bit Axe F
 -
 Bow Saw C
 -
 Two-Man Saw I
Mining Camp
-
 Gold Mining F
 -
 Gold Shaft Mining C
-
 Stone Mining F
 -
 Stone Shaft Mining C
Town Center
-
 Villager D
-
 Feudal Age D
 -
 Castle Age F
 -
 Imperial Age C
-
 Loom D
-
 Town Watch F
 -
 Town Patrol C
-
 Wheelbarrow F
 -
 Hand Cart C
D Dark F Feudal C Castle I Imperial · struck through = not available for the Saracens
Jump to another civilization
Frequently Asked Questions
How do you counter the Saracens?
The Saracens field Mameluke and Heavy Camel Rider. Pikeman, Genoese Crossbowman and Kamayuk counter most of what they build. Their tech tree also leaves out Cavalier, Halberdier and Heavy Scorpion.
What is the Saracens tech tree missing in AoE2?
Their Knights never become Cavaliers — less attack and fewer hit points, so your Pikemen and Camel Riders trade up against them from the Castle Age on. Their Spearman line stops at the Pikeman — against Paladins and other heavy cavalry they never get the Halberdier's bonus damage. The Heavy Camel Rider covers the anti-cavalry role instead: it deals bonus damage to mounted units. Their Scorpions stay at the base tier — less range, attack and accuracy, so your archers out-range them.
Which units do the Saracens have that other civilizations do not?
Mameluke: Saracen unique Cavalry with ranged melee attack. Heavy Camel Rider: Fast moving anti-cavalry Cavalry.
Not sure what counters this unit?
Playing against the Saracens? Look up any of their units in the interactive app to see exactly what counters them — with bonus-damage values.
Find your counter →